Do-It-Yourself Video Production
As video production has come to standstill, there are still ways to create professional-looking videos. In fact, we are helping quite a few clients with their video messaging by coaching them on how to shoot their own videos and editing them to polish them off. With an iPhone or a tablet device, you can still achieve a more professional look if you follow a few of these pointers.
Shot Variety
Shot variety applies if you are filming a scene or actions. If you watch anything on television, you’ll notice that scenes are broken down by a series of varied focal lengths. What I mean, is tight, medium, wide shots.
Tight shots show detail. See how the shot below is cropped to show just this Sheetz employees face.

Wide shots give perspective. This shot below should orient the audience to the world our story lives within.

And the most used shots are medium shots that show the relationship between people and things. A lot of times this is called a “two shot,” which shows two people in dialogue but can be anything.

The most exciting footage has lots of variety and gives the editor lots of options. The main difference between amateur-looking footage and pro is that amateurs tend to shoot all wide or wide-medium shots.
A good rule of thumb is roughly to get 20 percent wide, 20 percent tight and 60 percent medium shots.
Shoot Landscape, 16×9
The reason that watching films on a horizontal axis versus a vertical one is more visually pleasing is because we live our life on the ground. We live our life on a horizontal axis. It’s just more organic and natural.
Do you drive to the store by going up and down?
Do you go for a nature walk by walking up and down?
No, you are living in landscape mode. However, with social media, it is, of course, more and more common to see a video that is vertical. The beauty of filming it horizontally is that it’s easier to chop off the sides and create a vertical video, than the opposite.
The Rule Of Thirds
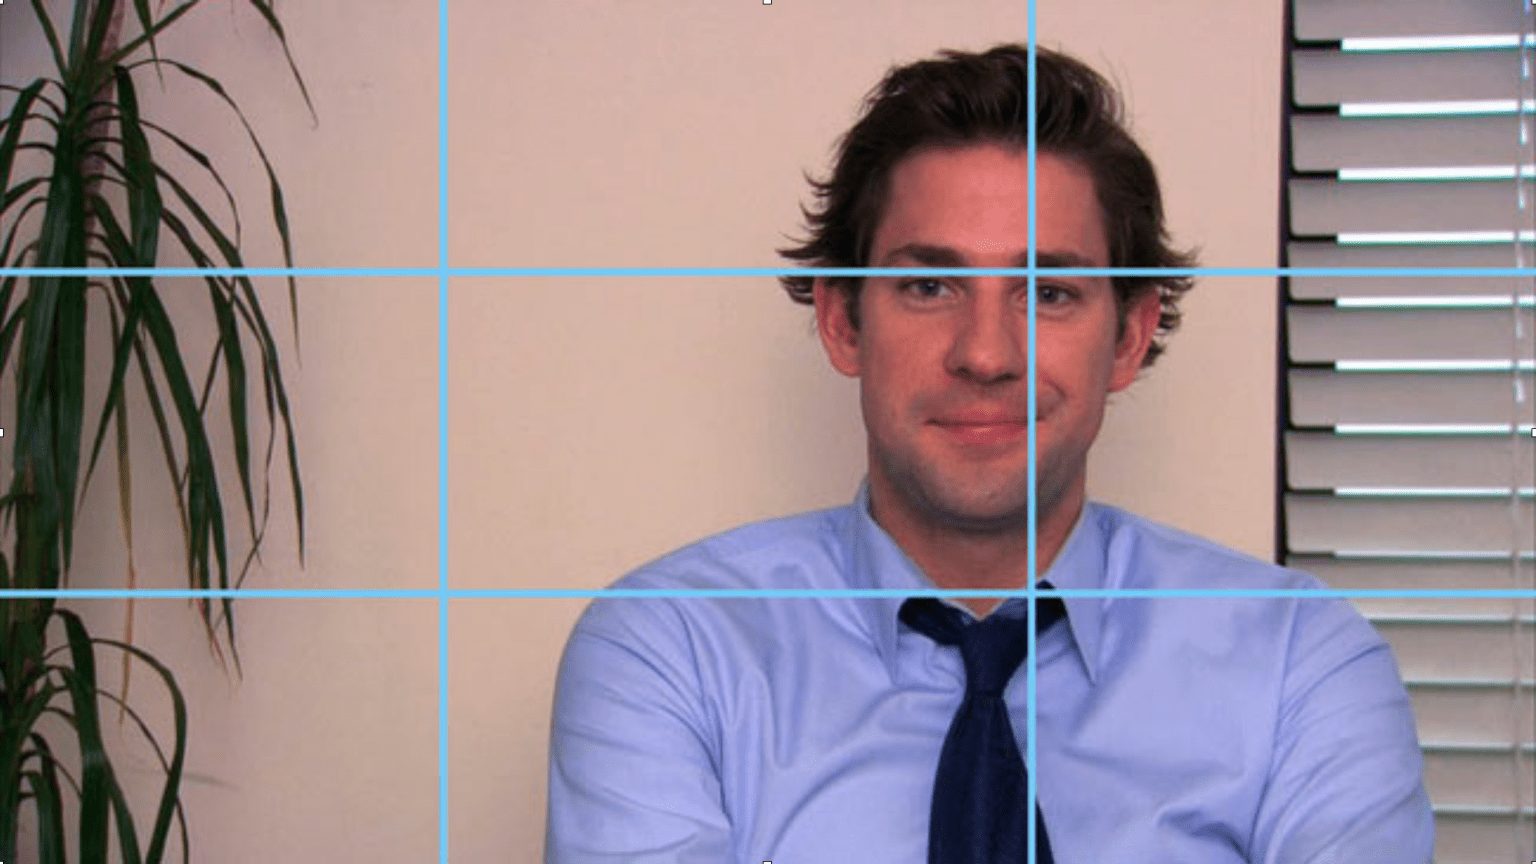
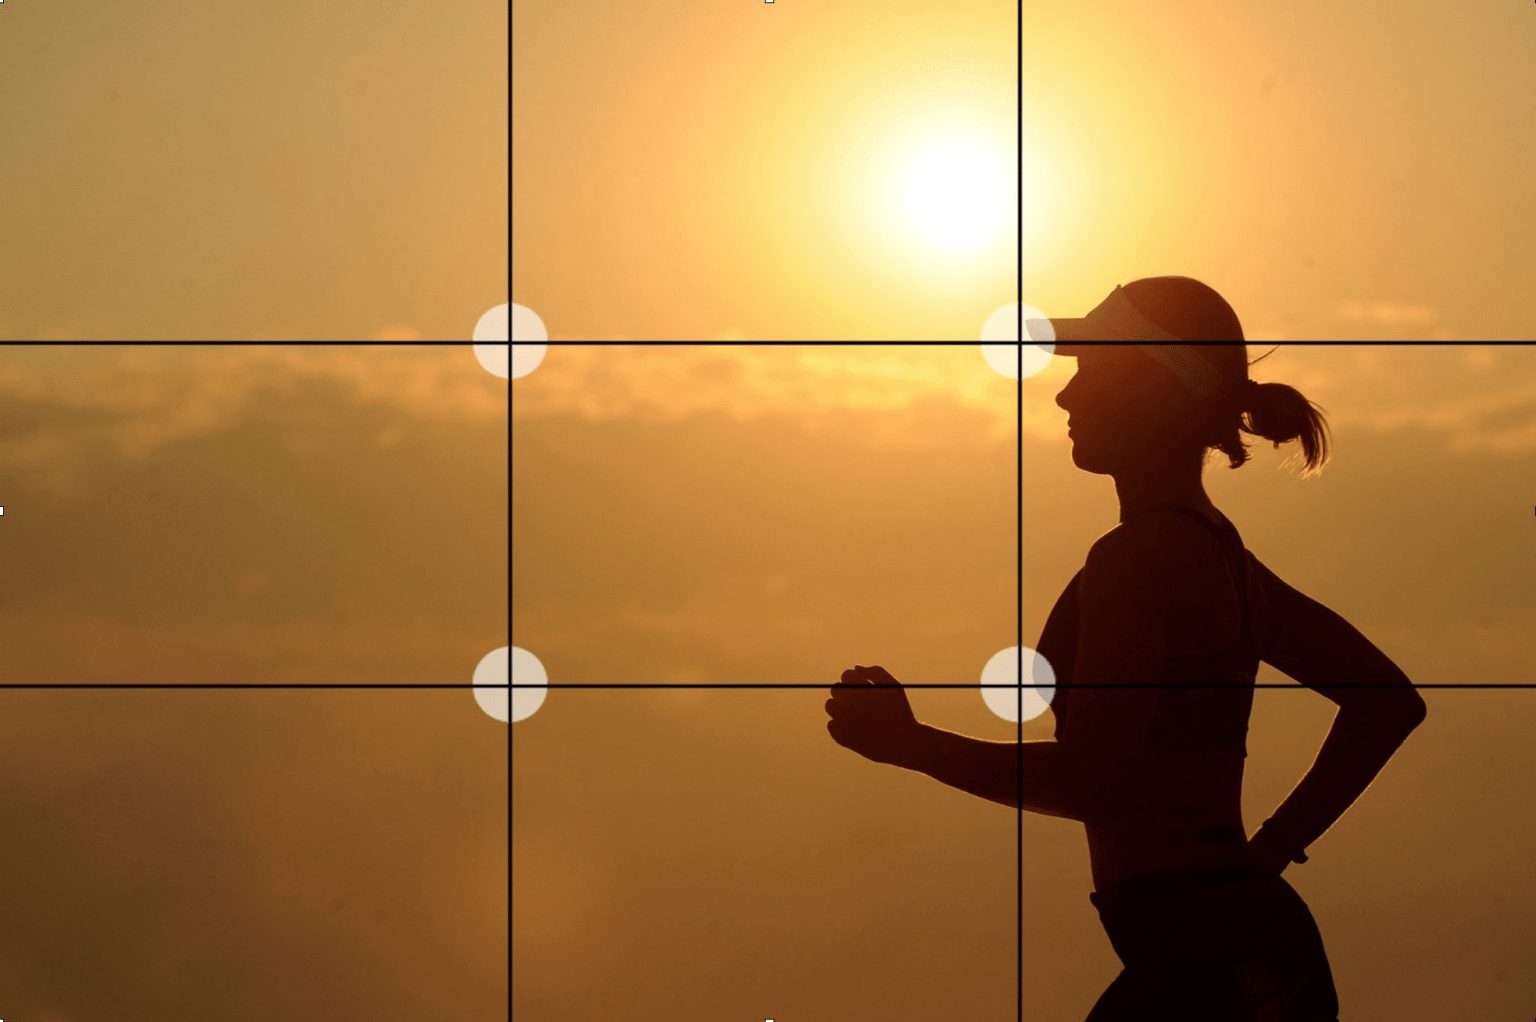
This is the most basic of photography rules. Basically, just break up your image into thirds and try to frame the most interesting visual component of the image in the intersections.


If you have a screen on your GoPro, use the rule of thirds as much as possible, but if you don’t, go into the GoPro settings and make the image wider and simply aim it like a flashlight and hope for the best.
With some phones and tablets, you can even turn on a rule of thirds assist that will show you the lines on you monitor.
Zoom With Your Feet
To get good shot variety, you’ll want to zoom with your feet. What does that mean? It is always more desirable to get a variety of angles without using a zoom feature on your lens or digital zoom on your iPhone. If you’re using a GoPro, you aren’t even able to zoom. That means, you’ll have to physically move to get good variety.
This is a common practice of professional still photographers. They may have the option to zoom with expensive lenses but getting close with the camera actually helps the viewer feel closer to the action.
Get Close For Quality Audio
Audio is another factor that can quickly make your video unprofessional if it sounds terrible. Another side benefit of zooming with your feet is that when the camera is close to the audio source, the result is crisper, more desirable audio.
Just think about your ears. When someone is talking to you from far away, do they sound better or worse? If someone is whispering in your ear, is it easier or harder to understand them? The same principle applies to video work. If you have a lav mic, get it close to the person’s mouth. If you have a boom mic, it’s the same thing. If the mic is in your iPhone or Tablet, get it close.
Hold The Shot
We want to avoid using jerky shots or shots that end abruptly. To do this, we need a smooth shot of at least 6 seconds or more to use it effectively. If you’re filming an action, try to let the action play out to completion before changing angles or stopping the record button.
Keep It Steady
The next time you are gazing out into the world, pay attention to how steady “the shot” is. Your body is the most sophisticated “steady cam” ever made. Therefore, humans are naturally accustomed to seeing steady visuals. That is why jarring, shaky footage is generally undesireable. Hollywood uses shaky footage to indicate chaos or add drama to an unfolding situation. But you ‘ain’t Hollywood!
There are multiple ways to keep a shot steady.
- Make sure your phone or iPad is not digitally zoomed in. You want to be totally wide, especially if you are filming handheld. The more zoomed in you are, the more the camera picks up small shakes.
- Use a tripod. They make a lot of iPhone tripods these days like this one.
- If you can’t use a tripod, make the world your tripod. For example, put your phone on a surface and use a stack of books to hold it up.
- If you are going hand-held, keep a comfortable and loose grip add a slight sway. It’s nearly impossible to keep the camera super still like a tripod using only your hands. Therefore, add a slight sway and think of your arms more like shock absorbers than a tripod. This way you’ll have a little movement, but it will we smooth and steady instead of jittery.
Basic Lighting
The best lighting should be soft, consistent, and highlight the most important image on the frame.

Let’s use a person talking to the camera or being interviewed as an example.
- Rather than using a light bulb with no cover, perhaps position them near a soft lamp. The best outdoor light is when a cloud covers the sun. The same applies when the shade is positioned over a lamp.
- Avoid positioning someone under a direct light source. Photographers avoid shooting outside during the noonday sun because the resulting image makes people look like raccoons with long shadows coming down from their eyes. The same will happen if you place someone directly under a ceiling light. Move them so the light source is ideally at a 45-degree angle from the face.
- Avoid strong backlighting. Unless you have professional equipment or powerful lighting, it is best to avoid positioning someone in front of a window or a strong backlight. What happens is the person becomes extremely dark while the iris of the camera is adjusting the bigger backlight. Always position the lighting in front of the subject.
Get The Moment
All these rules are great. But if something authentic is happening (big or small), just get it. Throw all the rules out of the window and just get it, and get the camera close to it if possible to pick up some audio!
*Pro Tip: If you are overwhelmed with what to shoot first, just use the old hunter adage “if it makes a sound, then shoot it.” Generally moments and compelling visuals also makes noise. Follow your ears to the moments.
To Sum It All Up
- Try to avoid over shooting. It’s hard to know what we’ll need in the edit if you don’t do this all the time. Use “Where’s Waldo” as a guide. Once you find Waldo, you change the page. Once you get the shot or moment, change the shot. Don’t film a presenter with a GoPro for 30 minutes because we can’t use the audio anyhow. But get a couple 5-10 second shots that we can use and move on. In fact GoPro audio is pretty bad and we’ll only really be able to use it for ambient sound, so don’t get too caught up in filming people talking. Once you think you’ve exhausted the interesting angles and moments in a scene, I promise you it’s okay to stop filming. Even though you’ll be tempted to roll for hours, it can actually hurt the editing process if there’s just too much unnecessary footage to comb through.
- Avoid getting one angle. We like lots of angles and our editor will like you so much more if you give them options!
- Avoid getting only wide focal lengths or wide shots. (See shot variety).
- Avoid short, jerky shots. We need a smooth shot of at least 6 seconds or more to use effectively.
- Make sure the GoPro is set to 4k or above. While this isn’t a photography principal or necessity, it will give our editor more options in post production.
- Have fun!
If You Need A Professional Edit, We Can help
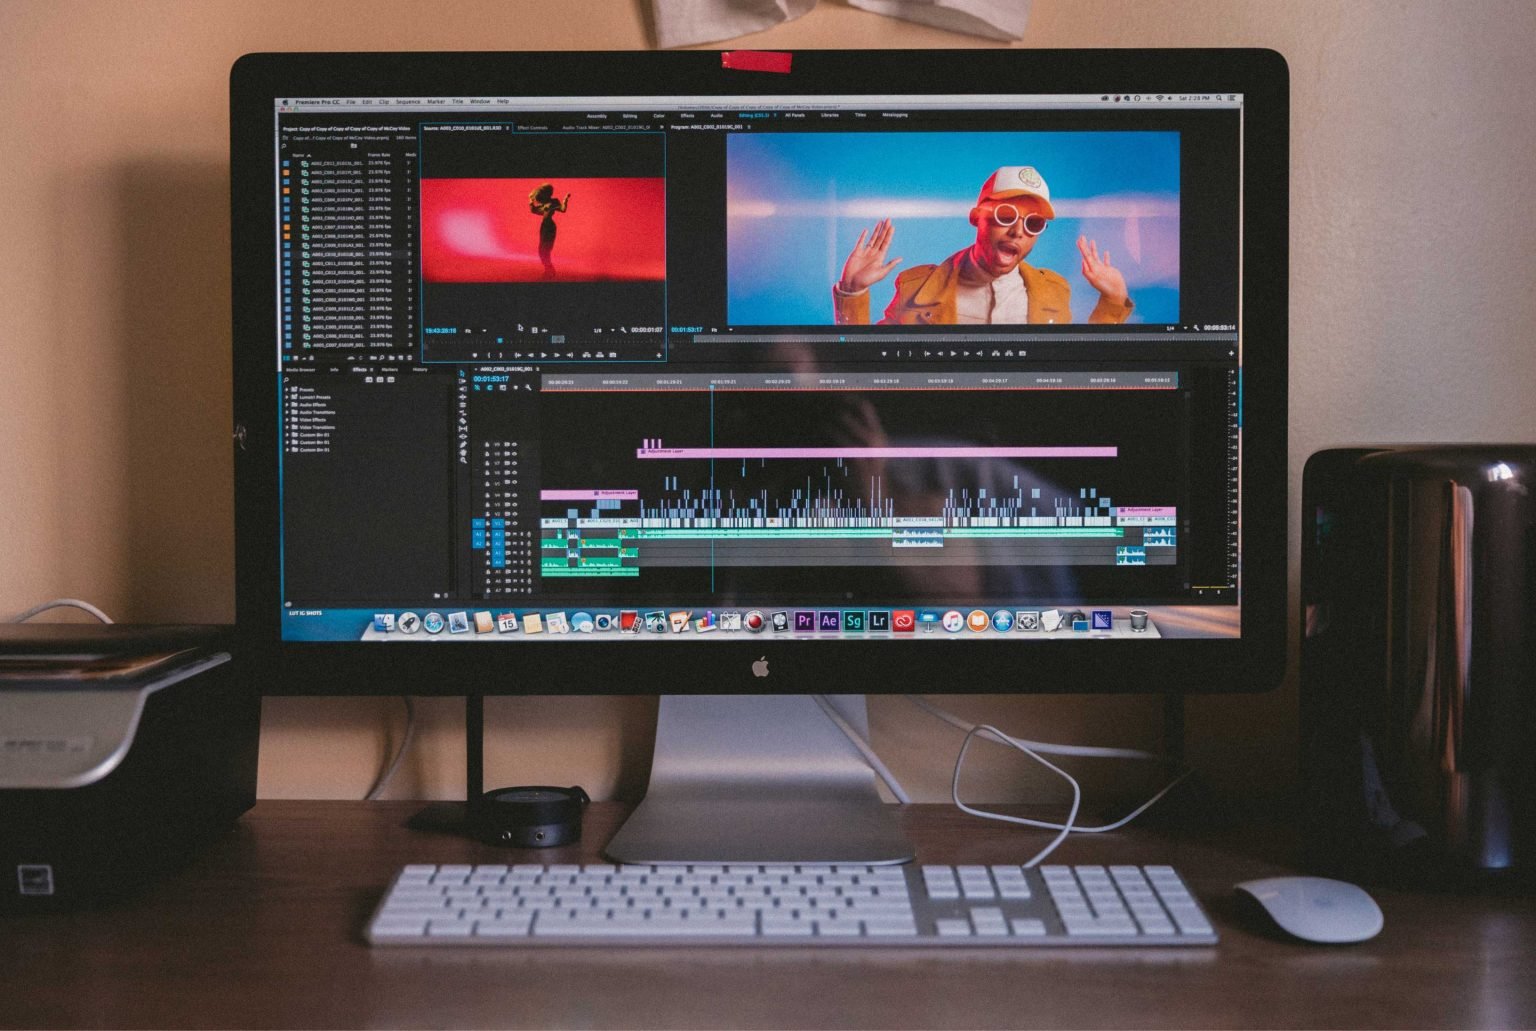
Editing is magic. You would be amazed how our award-winning editors and take your video, package it up with some simple graphics, cleaned up audio, and color correction. It’s never as good as if it’s shot by a pro, but we can definitely protect your brand with some simple edits. Contact us below.


